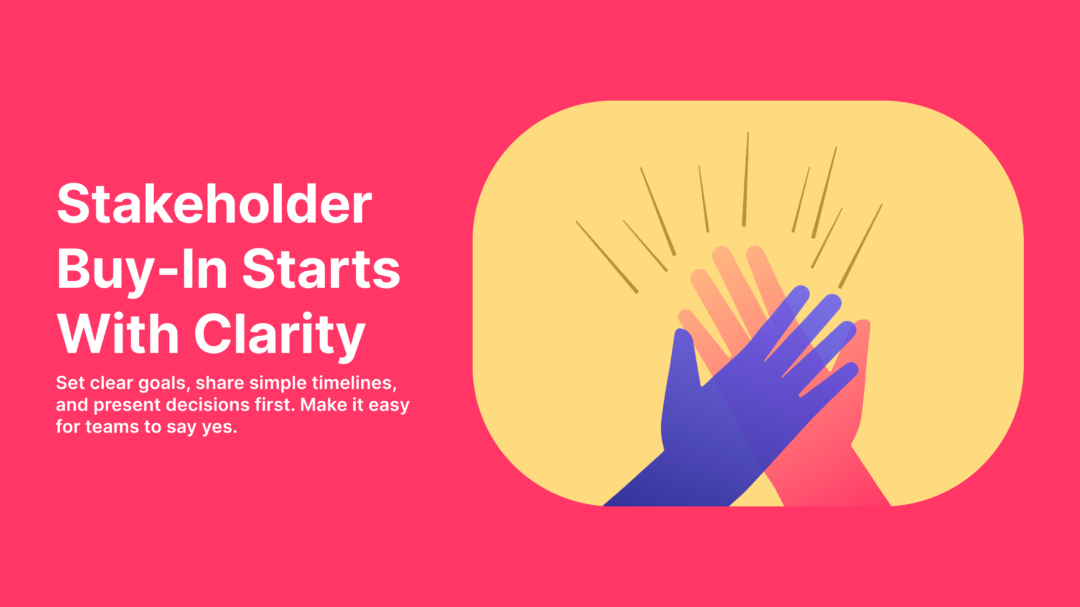
Why Buy-In Matters (and What It Really Looks Like)
Everyone in the UX business knows that research is parament for delivering good user experience but one open secret in the industry is that even great research goes quiet when it doesn’t land with the people who make decisions. Good research doesn’t guarantee buy-ins especially when the stakeholders are kept out the loop (or uniformed), don’t understand your findings or resonate with the delivery of the results. When stakeholders know what you are learning, when to expect results, and how next steps will be decided, projects move faster and teams stay aligned.
Step-by-Step Stakeholder Buy-in in UX
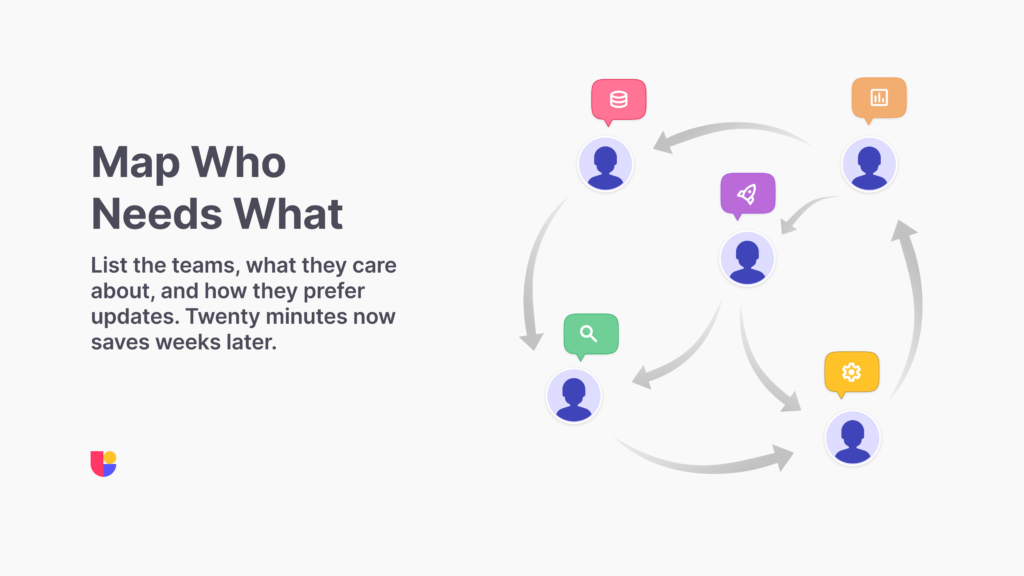
Start by mapping the voices around your work: product cares about outcomes and potential roadmap risks, design wants task clarity and finding usability issues, developers want clear designs, tech requirements, and awareness of constraints, leadership looks for the top line reasons to change a project, clear timelines and cost to change course. Capture what each group values, how they prefer to consume information, and which decisions they own. This 20-minute exercise prevents weeks of rework later.
Expectation setting is your next step. Share a one-sentence goal, the timeline, who you will recruit and why, and what success looks like. Include a line on what happens if findings split or are inconclusive, do not overpromise on the results so nobody is surprised when you recommend a follow-up.
For example: “Validate whether the new checkout flow reduces drop-offs on mobile for first-time users.” A sentence like this keeps everyone aligned on the goals, and expectations without promising a specific outcome or an impossible timeframe.
A Simple Timeline That Builds Trust
Week 0: Align on the goal, how you will test it, and what success looks like. Share this plan with the people who will use the results.
Week 1: Build the study and run a quick pilot to make sure your setup is correct. Adjust before you launch.
Week 2: Go live and send a short mid-study update on the direction. No conclusions yet, just what you are seeing.
Week 3: Wrap up, pull recordings and screenshots, and present the headline decisions. Keep every update short. One slide or a short note is often enough.
Talking points help you stay on track at each moment. At kickoff, say:
“Here is the goal in one line, who we are recruiting, and what we will count as success. If we see X, we will recommend A. If we see Y, we will recommend B.”
At the middle point of your study, remember to keep the teams informed:
“We are halfway through. Early pattern points to address entry being the main friction on mobile. We will confirm with remaining sessions. No timeline risk.”
For the presentation headline: “Three decisions today – Keep the new checkout on desktop, revise address entry on mobile, and remove the optional survey. Recordings and metrics follow.”
When you have to summarize the results for a topline one-liner: “Mobile address entry blocks 42 percent of first-time users. Recommend redesign and retest next sprint.”
Present Results That Drive Action
Lead with decisions, then show the evidence. Your presentation should answer four things in order: what you tested, what you observed, what it means, and what you recommend. Follow-up with risks and open questions.
Two small details pay off here. First, keep your visuals specific. A short list, screenshots, or simple charts tell the story faster than a wall of numbers. Second, make comparison easy. If you ran variants or tested across devices, stack the results so the difference is obvious to a non-research audience. Remember that you are reporting results to help a group make a decision today. If you leave them more confused or with more questions then when you started, your presentation has failed.
Common Pitfalls (and Quick Fixes)
Use this short checklist to keep the work on track:
- Avoid vague goals: write the one liner goal and success criteria first.
- Loop the stakeholders in early: share the plan and expectations in Week 0, not the day before launch.
- Avoid reporting bloat: put headline decisions on slide one and move detail to an appendix.
- Delegate follow-ups and set timelines: assign a name and date to each recommendation during the presentation.
- Set a check up: schedule a 10-minute meeting two weeks later to confirm progress.
A Ready-to-Share Report Template
When it is time to show results, format should help, not get in the way. Our free Usability Report Template is built for quick and effective presentations. It works for usability tests, concept checks, and prototype runs. We are adding more ready-to-use materials over time so teams can spend less energy formatting and more time learning.
If you are running studies in Useberry, you can recruit from the participant pool or your own audience, apply screeners and device limits for the right mix, and use Participant Review to keep sessions clean and timelines on track.
Those small tweaks make buy-in easier, because the story stays focused on qualified users and clear outcomes.
Conclusion
Buy-in is a loop, not a meeting. Align early, send a short alignment message midway through, deliver a confident presentation, and follow up after changes ship. Small and steady touch points build trust faster than a big surprise reveal. When people know what is coming and when, your insights land, decisions move, and the team keeps pace together.
Ready to Win Buy-In for Your Next UX Study?
Turn your research pitch into a team win with Useberry’s fast, shareable insights and visual evidence.